2.02 Create your bus scene
Choose a backdrop and add a bus sprite.

Open the starter project
Open the Catch the bus starter project. Scratch will open in another browser tab.
Choose a Backdrop
Click (or on a tablet, tap) on Choose a Backdrop in the Stage pane (in the bottom right-hand corner of the screen):

Click on the Outdoors category. Add a backdrop that makes a good starting point for your bus:

Choose a Sprite
Click on Choose a Sprite:
Type bus in the search box at the top:

Add the City Bus sprite to your project.
Give your bus a starting position
Make sure that the City Bus sprite is selected in the Sprite list below the Stage.
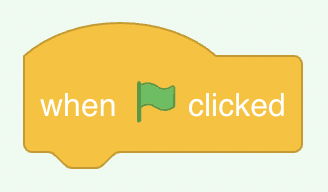
Drag a when green flag clicked block from the Events blocks menu to the Code area:
Drag the bus to a good position on the Stage:

The x and y coordinates (the numbers used to describe the position) of the bus are shown in the Sprite pane below the Stage:
Add a go to x: y: block:
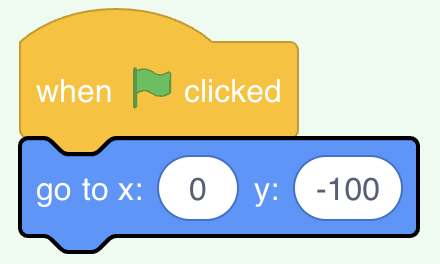
The numbers in the go to x: y: block are the current x and y coordinates of the bus. The numbers in your project might be a bit different.
Test: Drag the bus to anywhere on the Stage, and then click on the green flag. The bus should always go to its starting position.

Move the bus behind the character sprites
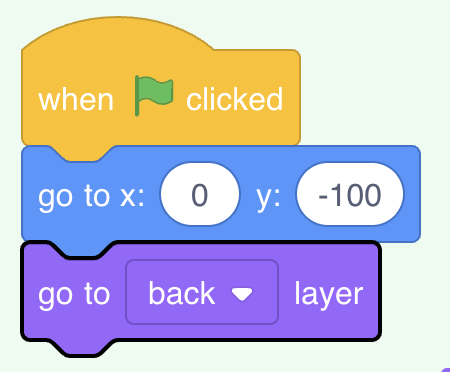
To make sure that the City Bus sprite is always behind all the character sprites, add a go to front layer block, then click on front and change it to back:
Tip: If you cannot see the go to front layer block, you need to scroll down in the Looks blocks menu.
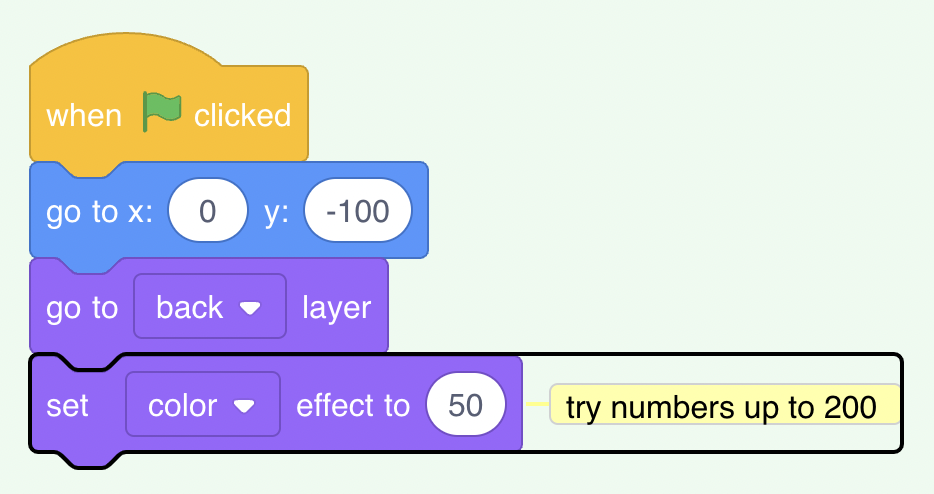
Change the bus colour
You can change the colour of the bus:
Resize the Scratch Cat
The Scratch Cat appears in all new Scratch projects as Sprite1 in the Sprite list. Click on the Sprite1 sprite in the Sprite list to get ready to animate the Scratch Cat:
Tip: If you have accidentally deleted the Sprite1 (Scratch Cat) sprite, you can click on the Choose a Sprite icon and search for cat.
In the Sprite pane, click in the Size property and change the Scratch Cat’s size to 50: